
Last updated November 15, 2026
 Wrought iron
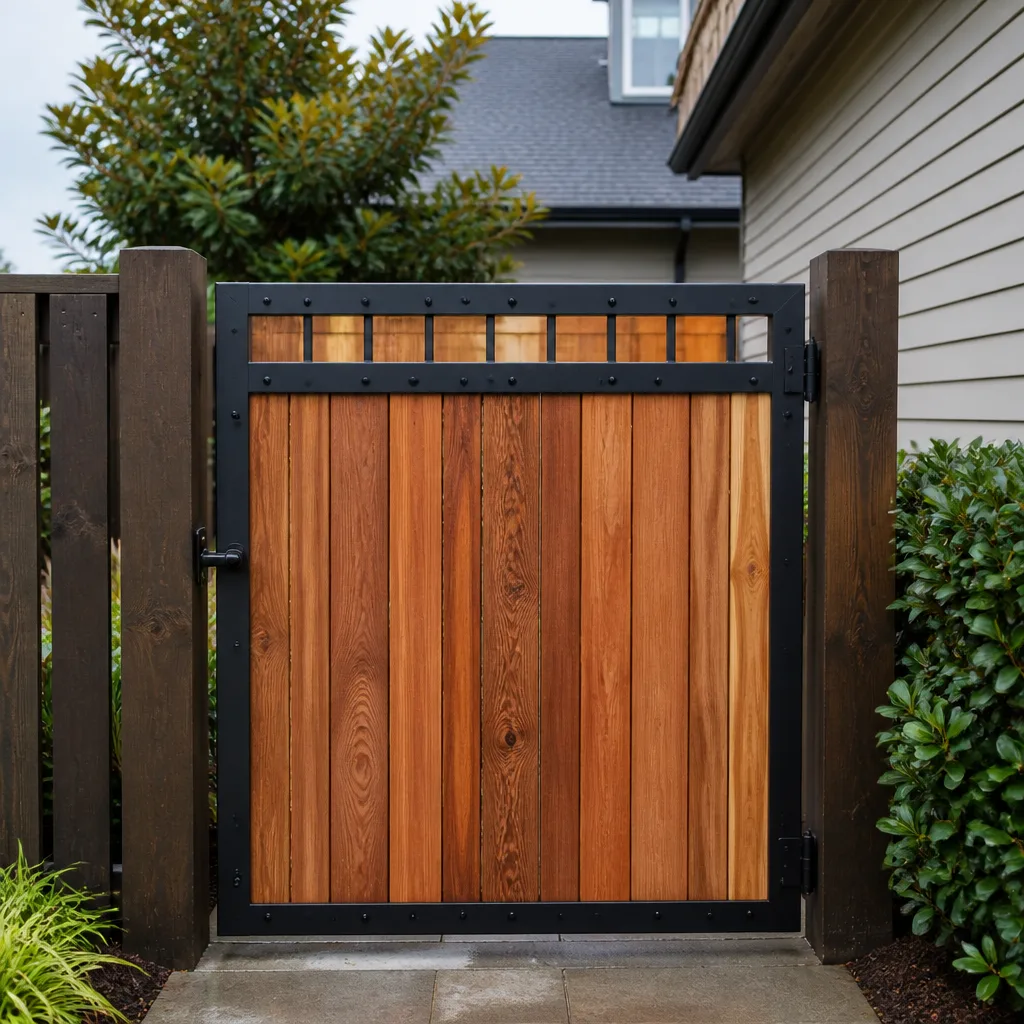 Wood & steel frame
 Farm & ranch
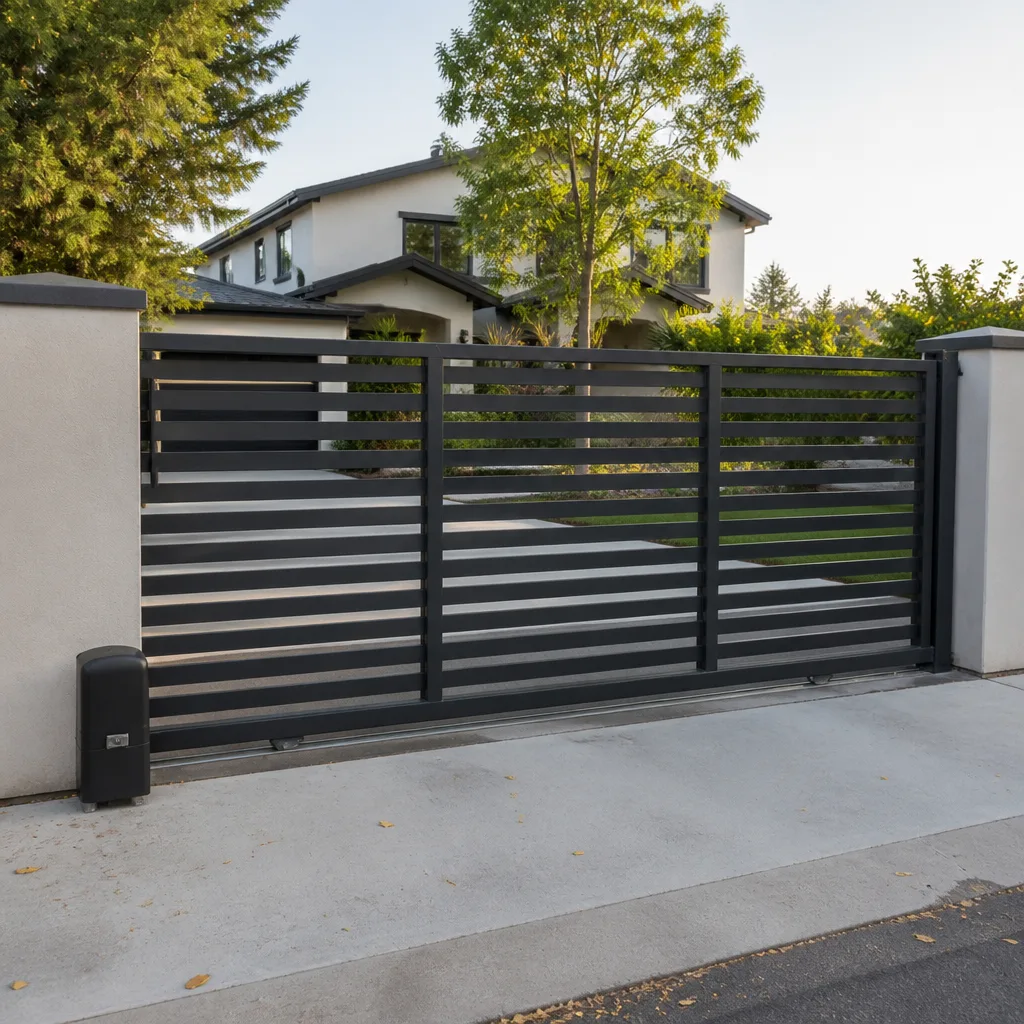 Sliding driveway gates
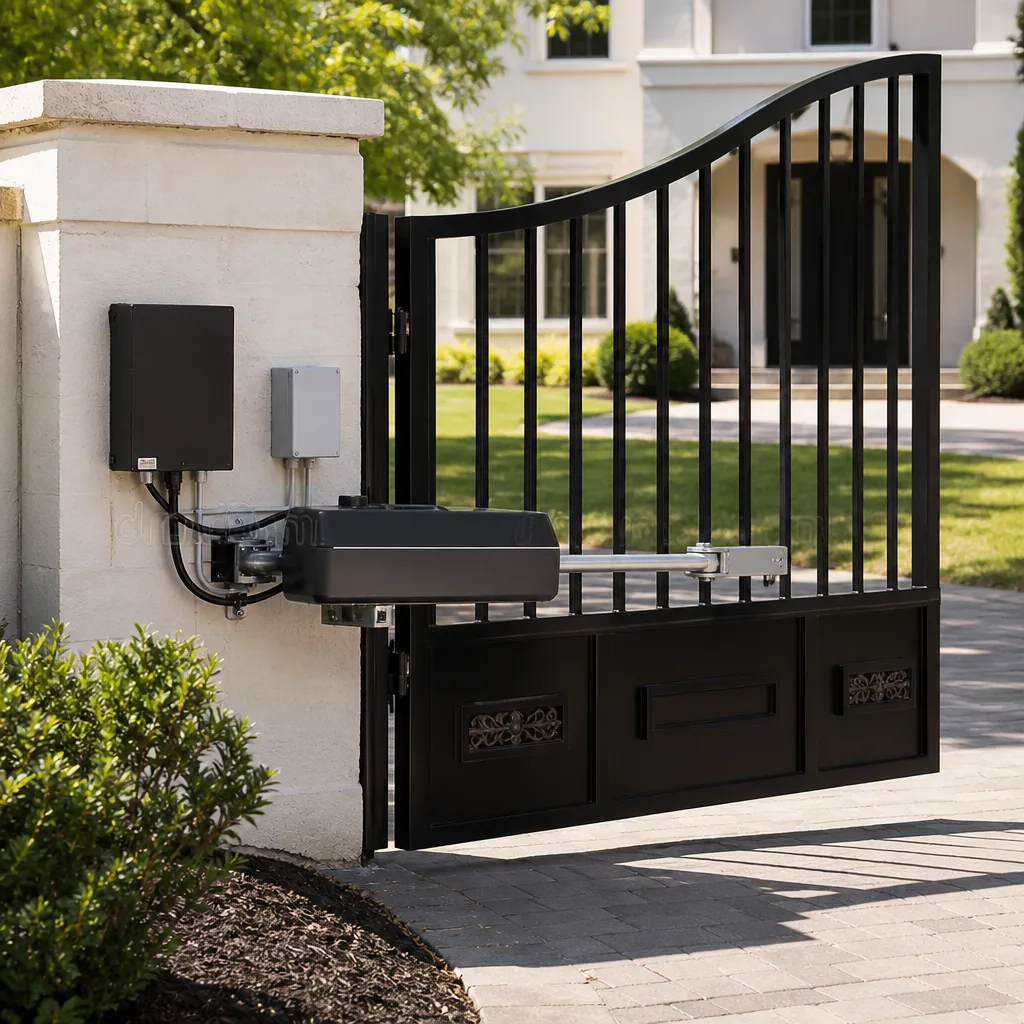 LiftMaster operators
Free on-site gate assessment - hinges, posts, and your LiftMaster or Nice gate operator checked before anything is quoted
The assessment is free and the quote is the invoice.
Get your free estimateGate Repair Troubleshooting in Pasadena: Common Problems and How to Fix Them
The most expensive gate repair call we see isn’t a failed motor. It’s a homeowner who spent two weeks adjusting limit switches on a gate whose real problem was a corroded ground wire. Limit switches are the parts that tell the motor where to stop; ground wires are what let the control board read a clean signal. Adjusting the switches did nothing because the signal was bad, and by the time the gate finally got looked at, the board had logged so many ghost faults that diagnosis took longer than the fix would have. Most gate problems in Pasadena fall into one of four root-cause categories: power, mechanical, control board, or obstruction. This guide teaches you to triage which category you’re in before you touch a single component.
Quick Answer
Gate repair troubleshooting in Pasadena starts with isolating the fault category before disassembling anything: check power at the breaker and at the board, check the mechanical path for binding or misalignment, check the control board for fault codes and terminal corrosion, and check the obstruction sensors for dirt, misalignment or a blocked beam. A gate that never starts is almost always a power or safety-circuit problem; a gate that stops mid-travel is almost always mechanical, a limit setting, or a current-sensing trip. Matching the symptom to the right category first is what separates a ten-minute diagnosis from a two-week guess.
Styles & brands we work with
- Wrought iron
- Wood & steel frame
- Farm & ranch
- Sliding driveway gates
- LiftMaster operators
Table of Contents
- The Four-Category Triage Framework
- Why Does My Gate Stop Mid-Travel?
- Why Does My Gate Never Start at All?
- How Pasadena Humidity Attacks Gate Electronics
- Safe Voltage Tests You Can Do With a Basic Multimeter
- When DIY Is Legitimate and When It Destroys Evidence
- Brand Differences That Change the First Check
- When to Call a Professional
The Four-Category Triage Framework
Every gate fault is either a power problem, a mechanical problem, a control problem, or an obstruction problem. That’s the whole map. The reason this framework matters is that these four categories have almost nothing in common at the diagnostic level, so confusing them wastes the most expensive resource you have: time on the wrong subsystem. A homeowner adjusting the gate arm when the breaker is tripped will never find the answer, no matter how carefully they adjust.
Here’s how we walk through the framework before any disassembly:
- Power. Is there voltage at the breaker, at the transformer or solar panel, and at the control board’s input terminals? If any one of those is dead, nothing downstream matters.
- Mechanical. Can the gate be moved by hand when the operator is disengaged? If it binds, scrapes, or needs real force, the motor isn’t the problem: the gate’s physical path is.
- Control. Does the board have power but no output? Are there fault codes, blinking LEDs, or visibly corroded terminals? Does a manual command from the board produce movement?
- Obstruction. Are the photo-eyes clean and aligned? Is there a physical block in the gate’s path? Is the safety edge or loop detector tripping?
In our experience, roughly half of the “the gate is broken” calls we handle at Pasadena Gate Service trace back to categories one and four, not to the motor at all. The motor is the most visible component and the least common culprit. Once you can place your gate’s symptom into one of these four buckets, you’ve eliminated three quarters of the diagnostic surface before you’ve taken a single screw out.
One note specific to this area: the heat and humidity here push mechanical and control faults to the front. Metal expands and contracts across the day, hinges corrode, and board terminals oxidize faster than the dry-climate customer expects. If your gate has been in service here for a few years, factor that into which category you check first. It’s a real difference, and it’s why an experienced local eye helps.
Why Does My Gate Stop Mid-Travel?
A gate that moves partway and then reverses, stops, or hesitates is sending a signal from a subsystem that’s still trying to work. This is fundamentally different from a gate that never moves at all, because the control board is receiving power and executing commands. When a gate stops mid-travel, the problem is almost always on the mechanical side, in the limit settings, or in the current-sensing circuit that’s tripping when the motor feels resistance.
Here’s the check order that gets you an answer fastest:
- Obstruction first. Look for a leaf, a rock, a settled patch of concrete, or a misaligned photo-eye on the far side of the stop point. The gate often stops exactly where the obstruction begins, which is a strong clue.
- Binding second. Disengage the operator and push the gate through its full travel by hand. If it scrapes, sticks, or needs effort at the same spot where it stops under power, you’ve found a mechanical bind: a worn hinge, a sagging post, or a track that’s shifted.
- Limits third. The open or close limit switch tells the board “stop here.” If a limit has drifted due to settling, temperature, or vibration, the gate stops early. Recalibrating limits is a legitimate homeowner task on many systems and is covered in the operator manual.
- Current sensing last. Modern operators sense the motor drawing more current than expected and reverse for safety. A slightly binding hinge that was fine at mild temperature can trip the sensor on a hot afternoon.
The key insight is that a “stops mid-travel” symptom tells you the operator is alive and the safety system is working. You’re looking for a physical or setting problem, not a dead component. Here in Pasadena, we see this pattern most often on slide gates whose track has picked up grit and on swing gates whose hinges have gotten sluggish in the humid months. Both are fixable, and neither usually requires motor replacement.
If the gate stops in the same place every time, the fault is nearly always that spot. If it stops at random places, the cause is usually electrical or control-related, not mechanical, and the diagnosis shifts: an intermittent voltage drop, a loose terminal, or a failing board cap. That symptom pattern alone tells you which path to follow.
Why Does My Gate Never Start at All?
A gate that never moves points at a completely different subsystem than one that stops mid-travel. When a gate won’t start, the operator is almost certainly not receiving a start command, or not finishing the safety check that precedes one. That means the fault sits in power, the access control system, or the safety circuit, not in the mechanical drive.
The most common causes for a no-start in this area, in rough order of how often we see them:
- A tripped breaker or dead transformer. The operator’s dedicated circuit tripped at the panel, or the transformer failed. This is easy to check and should always be first.
- A stuck safety edge, photo-eye, or loop detector. The board refuses to move the gate if the safety chain is open. A photo-eye lens fogged with dust or a loop detector sensing a false vehicle will hold the gate in park indefinitely.
- A dead remote or keypad, or a receiver problem. Sometimes the gate is fine and the command never arrives. Test with the wall keypad or a manual override.
- A failed control board. The board has power but isn’t processing inputs. Fault LEDs, dead display, or no relay click on command point here.
- A seized motor or gearbox. Least common, but sometimes the operator commands movement and the windings are burned or the gearbox has failed. That’s a motor diagnosis, and we cover it in more depth on our electric gate repair page.
Notice what’s missing from this list: anything mechanical about the gate leaf itself. A gate whose post has sagged will still try to move. A gate that never tries is nearly always an electrical or control issue, and that’s the wrong symptom to be chasing hinges against. Getting this distinction right early saves homeowners real money on parts that were never broken.
If your gate has an access control system – keypad, intercom, card reader, telephone entry – the access system itself can hold the gate closed. That’s a common one on commercial properties around Pasadena, where a DoorKing or LiftMaster entry system is calling the shots and the “gate fault” is actually a reader or phone-line failure. Check whether a manual key command at the board starts the gate; if it does, the operator is fine and the access system is the fault.
How Pasadena Humidity Attacks Gate Electronics
Gulf Coast humidity doesn’t break gate electronics the way people expect. It doesn’t usually kill a motor outright. What it does is attack the low-current connections: terminal blocks, splice points, wire nuts, and the metal contacts inside the control box. These are the parts with small surface areas carrying small signals, and small signals are the ones that corrode away first.
Here’s what that means in practice, and why it changes the check order for a Pasadena gate:
- Control board terminal blocks corrode before motors fail. Look for white or green oxidation on the terminal screws. If a terminal has gone powdery, the board can read a fault it doesn’t actually have.
- Low-voltage splices are the worst offenders. Any inline splice on the photo-eye loop, the safety edge, or the keypad wiring is a humidity weak point. These are worth checking with a screwdriver and a visual inspection before you trust the board’s report.
- Hinges rust on a different schedule than electronics. Hinges rust from the outside in and show visible brown streaking. Board corrosion hides inside a closed box and shows as intermittent faults. The first check for one has nothing to do with the other, which is exactly why the four-category framework matters here.
- Ground wires and chassis grounds go first. A corroded ground is the mistake in the opening of this guide. It produces ghost faults, random reverses, and boards that test good on the bench but fail in place.
We’ve seen the corrosion pattern enough to build it into the first visit. When we open a control box on a gate around Pasadena, the visual scan for oxidation and moisture damage happens before any electrical test, because a corroded terminal makes every downstream reading suspect. The humidity here is stable and steady, day after day, which is different from a coastal salt environment or a freeze-thaw climate: it’s a constant, low-grade assault on connections rather than a seasonal shock. If you’ve had a gate go intermittent over a summer, corrosion on a terminal or splice is the first place to look.
Safe Voltage Tests You Can Do With a Basic Multimeter
A basic multimeter lets you confirm or eliminate the power category in a few minutes, safely, without opening the operator housing or touching live motor terminals. That’s the entire scope of what a homeowner should test. Everything past low-voltage checks at the accessible terminals belongs to a technician, because gate operators combine high-current motor circuits with low-voltage control circuits in the same enclosure, and the wrong probe placement can bridge them.
Here’s what we consider a safe, legitimate homeowner test set:
- Breaker voltage. At the electrical panel, check that the circuit feeding the gate operator is live. If it’s not, reset the breaker and check again. This is standard household electrical work and involves no disassembly of the operator.
- Transformer or supply output. If the transformer is externally accessible and labeled, check its output against the specification on its label. If the transformer is inside the operator housing, stop: that’s a technician’s check.
- Photo-eye power at the accessible terminals. Most photo-eyes have exposed low-voltage terminals at the sensor itself. Check for the specified voltage there. If power is present at the sensor but the board reports an obstruction, the problem is the signal path, not the power.
- Accessory or keypad supply. If the keypad or access control has an external supply terminal, verify voltage. If a keypad is dead but has power, the fault is inside the keypad.
What you should not test: motor windings, capacitor terminals, board-mounted components, or anything inside the operator housing while the unit is energized. A gate operator’s capacitor can hold a dangerous charge after power is removed, and the motor circuit carries enough current to cause serious injury. That work belongs to a trained technician with the operator isolated and discharged. If a meter reading inside the housing would tell you the answer, the answer is to call us.
One more boundary: don’t test with the gate in motion. Don’t probe terminals while someone at the keypad might send a command. And don’t use a meter that isn’t rated for the voltage present. A multimeter that reads fine on a 12-volt circuit is not automatically safe on a 240-volt supply. When in doubt, stop and call: this is exactly the kind of check our technicians handle every day.
When DIY Is Legitimate and When It Destroys Evidence
Some gate faults are genuinely homeowner-fixable and some aren’t, and the line isn’t about difficulty. It’s about whether your attempt removes information that a technician needs to diagnose correctly. A conked-out photo-eye lens is legitimate. Disconnecting components to “test” them and forgetting what went where can turn a straightforward fix into an hour of reverse-engineering.
These are the fixes we consider legitimate for a homeowner to attempt:
- Cleaning a clogged photo-eye lens. Dust and pollen buildup here is real and common, and a soft cloth plus a visual check for alignment fixes most of it.
- Resetting a tripped breaker. If the circuit trips once, reset it and see if the gate returns to normal. If it trips again, stop: a repeated trip is a fault, not a fluke.
- Replacing batteries in a remote or keypad. A dead remote that tests with a fresh battery tells you the receiver is suspect.
- Clearing a physical obstruction. A leaf, a rock, a branch, or a settled chunk of debris in the gate’s path.
- Recalibrating limits with the operator’s manual. Many systems have a documented limit-adjust procedure. Follow it exactly and don’t force any adjustment.
These are the fixes that destroy diagnostic evidence:
- Disconnecting board terminals “to test.” A technician reads the fault history and terminal state; unwiring things erases that.
- Swapping parts from another gate. If you replace the control board with another board and the gate still doesn’t work, you’ve now got two broken gates and no baseline.
- Resetting a board to factory defaults. On some systems this wipes the fault log and the paired-remote memory. It looks like progress; it isn’t.
- Backing off limit switches “just to see.” You move a known-good setting into an unknown one, and now the technician can’t tell what was correct before you started.
The general rule we give customers: observe freely, clean freely, test voltage at accessible terminals. Don’t disconnect, don’t replace, don’t reset. The gate repair process is much faster when the technician can see the original fault state.
Brand Differences That Change the First Check
Gate operators behave differently by brand, and the brand on your property changes which check comes first. This is why technicians trained on your specific system are faster than a generalist, and why we’re trained across the major brands rather than a single one. Whether your equipment is a Mighty Mule DIY-style operator or a LiftMaster commercial unit, the framework stays the same but the entry point into the framework doesn’t.
Here’s how brand changes first-check priority in our experience:
- Mighty Mule and similar homeowner-installable systems. These often carry the most accessible diagnostics and the most common installation setup issues. First check is usually the transformer and the limit settings, since these systems are frequently installed by the homeowner and the original calibration may have drifted or never been set correctly.
- LiftMaster commercial operators. The control board has a fault-code display that tells you exactly which input is open. Reading codes first, before any physical check, is the fastest path on these units.
- FAAC hydraulic operators. Hydraulic circuits behave differently from electromechanical ones. When a hydraulic unit stops mid-travel, the first check is usually fluid level and bypass pressure, not electrical. That’s a fundamentally different opening move.
- BFT and slide operators. Encoder-based slide operators report position faults that look electrical but trace to a shifted track or a misadjusted limit cam. The physical path gets checked before the board.
We’re also trained on Linear, Viking, Ghost Controls, DoorKing, and Elite, and the honest version of this is that nine-brand fluency means the technician arrives knowing what to look at on your system before he walks up the driveway. No guessing about which terminal is which, no generic framework applied to a proprietary control board. If you know your brand, tell us when you call. If you don’t, we’ll identify it on site.
For those who want to know more about how the overall service works before calling, there’s useful background on the Pasadena page about the area we cover and the way we handle local dispatch.
Common Mistakes to Avoid
- Assuming the motor is the problem. In our experience, most “broken gate” calls don’t end in motor replacement. Before you price one out, confirm the gate moves by hand when disengaged and the board has output.
- Adjusting limit switches without documenting the starting position. If you don’t know where the limit was set before you touched it, a technician can’t tell whether “stops early” is the fault or your adjustment. Photograph the setting first.
- Ignoring a repeated breaker trip. One trip can be a fluke; two is a fault. A tripping breaker that gets reset over and over can damage the board, and the fault it was warning about is still there.
- Skipping the photo-eye dust check. Clean lenses are the cheapest fix in gate repair, and skipping the check means you chase the board for a problem that a dry cloth solves.
- Replacing the board without checking the ground wire. A corroded chassis ground produces fault symptoms identical to a bad board, and a fresh board on a bad ground fails the same way. Ground first, board second.
- Assuming a stopped-mid-travel gate is the same problem as a never-starts gate. These are two different subsystems, and the check list for one is nearly backwards from the check list for the other. Matching the symptom correctly is half the diagnosis.
- Testing inside the operator housing. The capacitor stores a dangerous charge after power is off, and the motor circuit can deliver serious injury. Cut the power, close the enclosure, and call a technician.
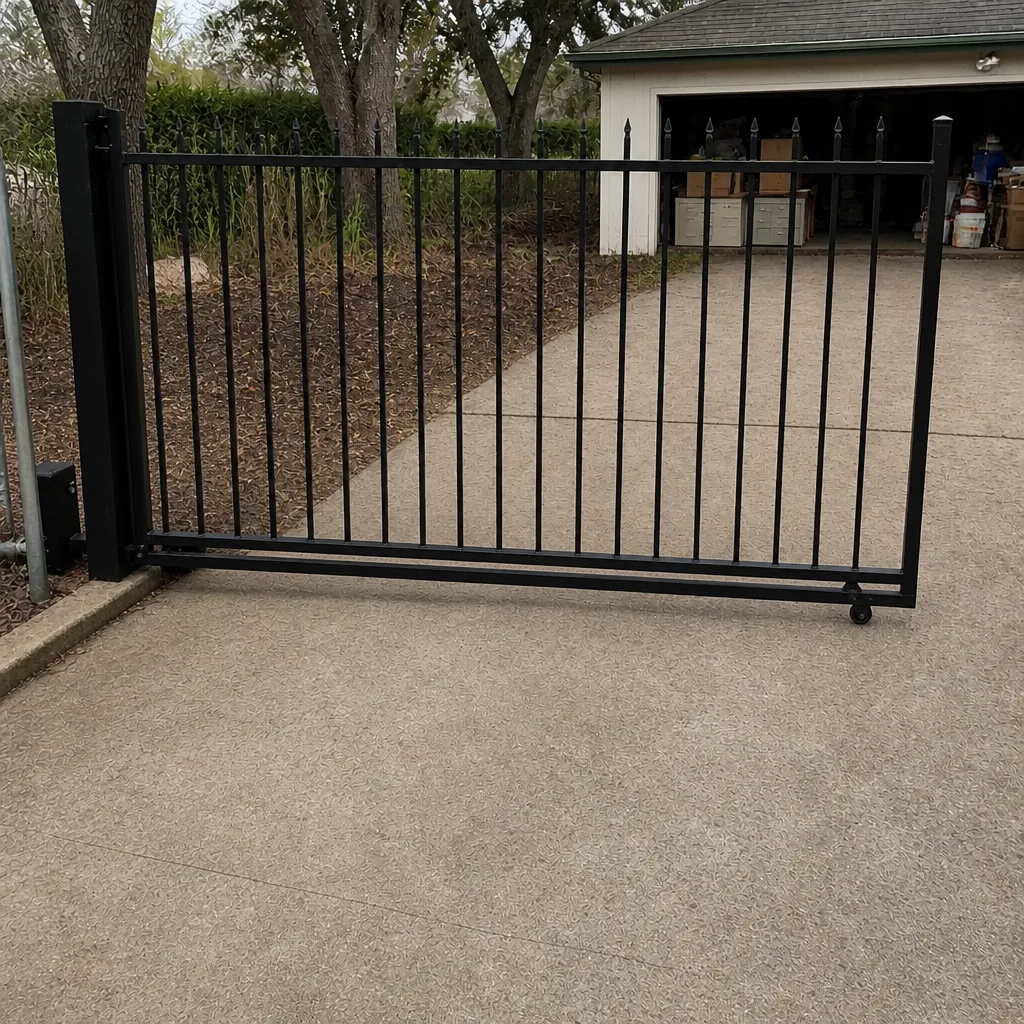
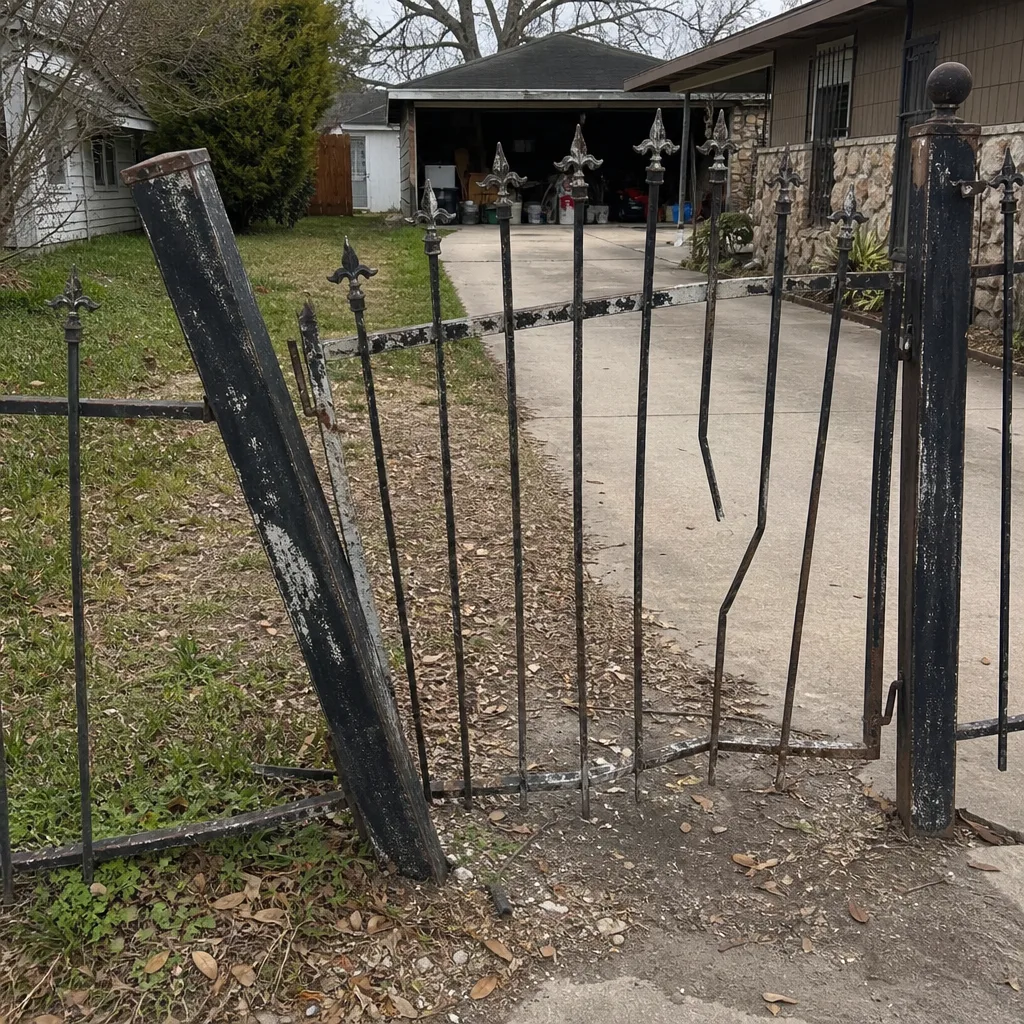
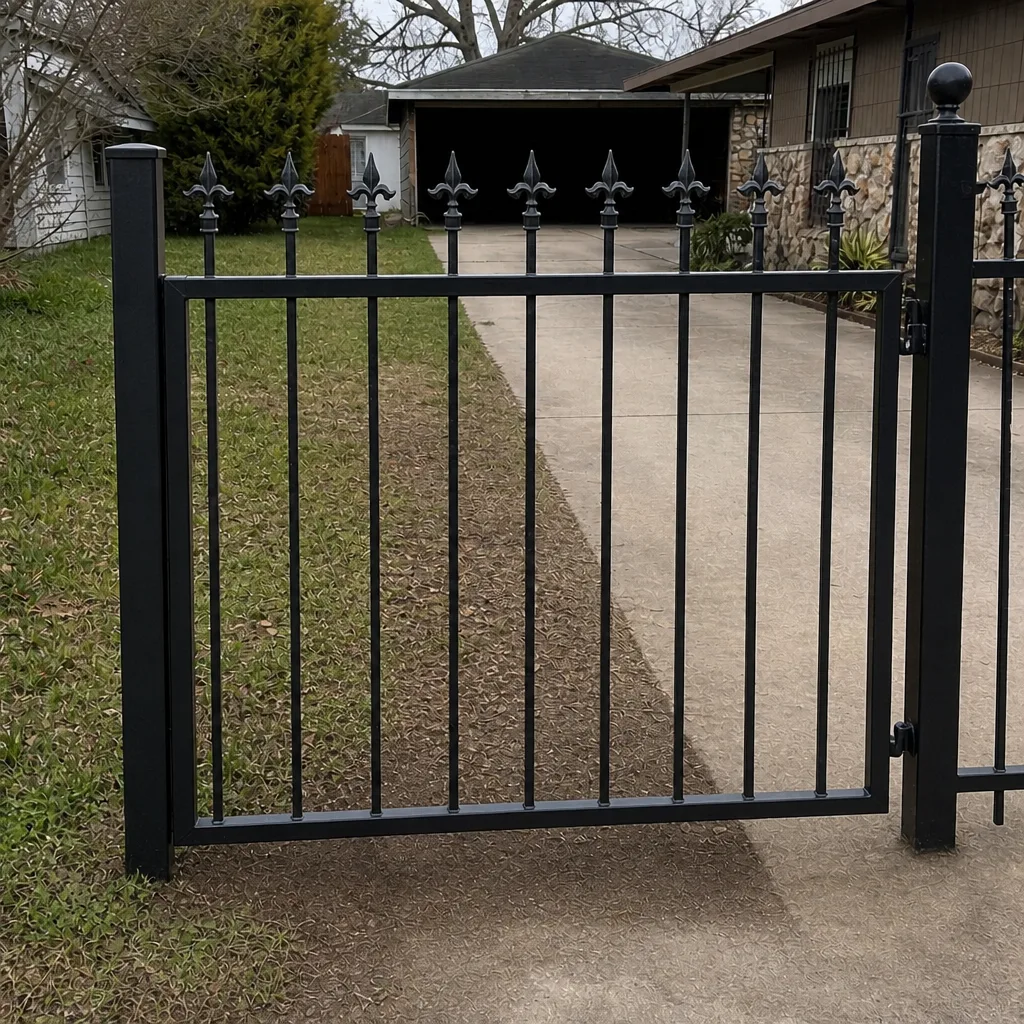
See the difference
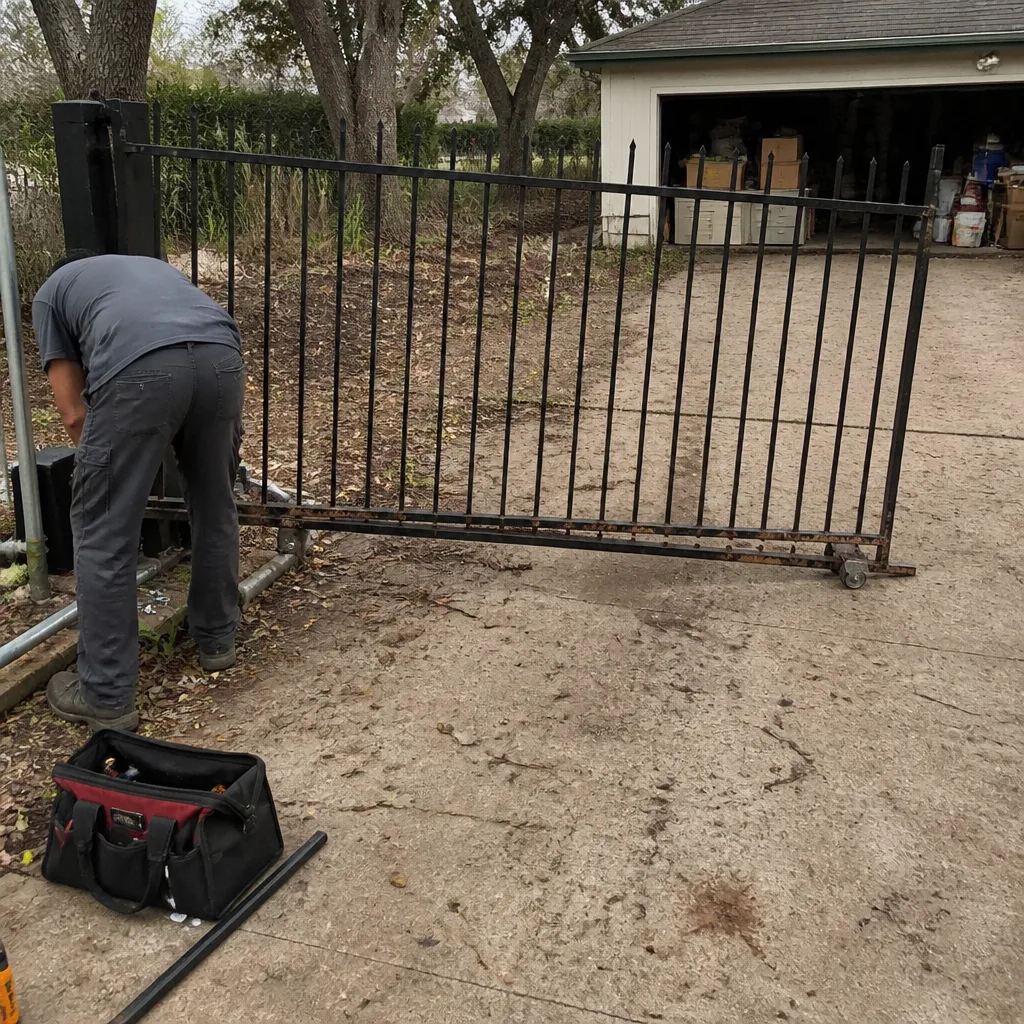 Before
 After
 Before
 After
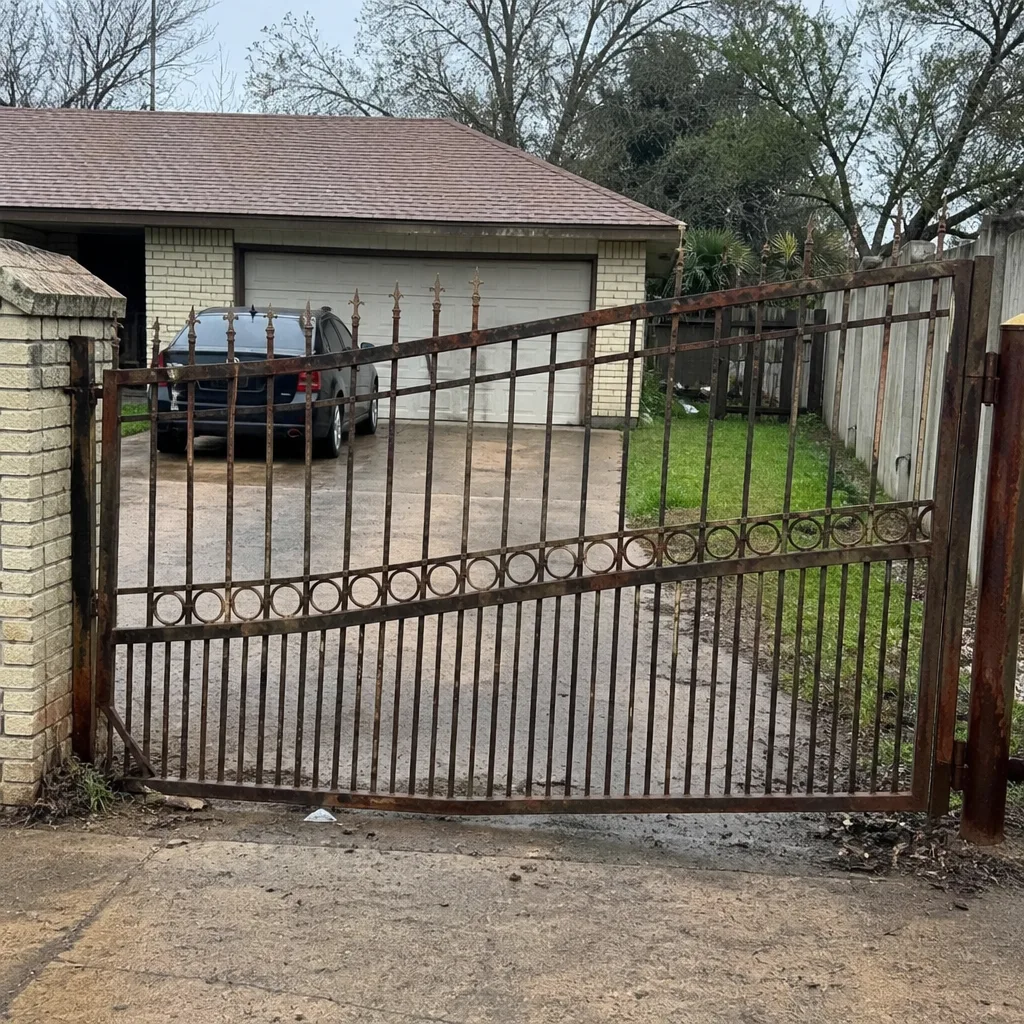 Before
 After
When to Call a Professional
Call a technician when the gate has refused to move on repeated attempts, when the breaker trips more than once, when you cannot safely reach an accessible low-voltage terminal, or when the fault doesn’t fit the four-category framework. Call when the symptom is intermittent, when the gate reverses randomly, when the fault moves from one gate position to another, or when you’ve already tried a fix and the gate behaves differently afterward. Call regardless if the gate is at the entrance to a business, an apartment complex, or an HOA property, where a misfunctioning gate is a real access and liability question, not just an inconvenience. Pasadena Gate Service offers free estimates in Pasadena. Our technicians have up to 15 years of experience, they’re trained on the brand you already own, and our diagnosis comes before any solution we suggest. Call (855) 772-8171.
Frequently Asked Questions
If the gate never starts, it’s more likely a power, safety-circuit, or control issue; if it starts and stops mid-travel, it’s more likely mechanical or a limit setting. Check for breaker voltage first, then confirm the gate moves by hand when disengaged. If it moves freely by hand but the operator never attempts a start, the motor is not the primary suspect.
Yes, on many systems, if you follow the operator’s manual exactly and document your starting position. Limit calibration is a legitimate homeowner task on most Mighty Mule, LiftMaster, and Linear systems. If the manual isn’t clear, or the gate doesn’t respond to the documented procedure, stop and call: an incorrectly set limit on a heavy slide gate can cause a real safety problem.
A gate that stops at the same place every time nearly always has a physical obstruction, a binding track or hinge, or a drifted limit at that spot. Disengage the operator and push the gate through its full travel by hand. If you feel resistance at the stop point, you’ve found a mechanical bind. If the gate moves freely through that spot, check the limit setting and the operator’s current-sensing adjustment.
A gate that stops at random positions points at an electrical or control fault rather than a mechanical one. That pattern suggests an intermittent voltage drop, a loose or corroded terminal, a failing control board component, or a safety input that’s making and breaking contact. Intermittent faults are exactly where a technician’s brand familiarity pays for itself, and where a homeowner typically can’t solve it alone.
Yes, but the damage concentrates at low-voltage connections, not motors. Terminal blocks, splices, and chassis grounds corrode and go intermittent over time. The visible evidence is white or green powder on a terminal. If your gate has gone flaky over a warm, humid stretch, that’s the first place to look.
Most likely yes. We’re trained across nine major brands, including LiftMaster, FAAC, BFT, Mighty Mule, DoorKing, and more, and we service the system that’s already on your property rather than pushing a replacement. Tell us the brand and model when you call, or we’ll identify it on site. Call (855) 772-8171 for a free estimate.
The Bottom Line
Gate repair troubleshooting in Pasadena comes down to getting the right category before touching a component. Power problems mean the gate never tries; mechanical problems mean it moves and stalls; control problems mean the board has commands it can’t execute; obstruction problems mean the gate is being told to stay put. Match the symptom to the category, then check in order. Clean the photo-eyes. Verify voltage at accessible terminals. Leave the inside of the operator housing to a technician. Document any adjustment before you make it. And when the fault fits more than one category or the symptom is intermittent, call a specialist rather than guess. The cost of a wrong guess is usually higher than the cost of an accurate diagnosis.
Contact
Ready to get your gate working properly? Call (855) 772-8171 for a free estimate, or reach out through the site to set up an on-site visit. Our technicians have up to 15 years of experience and are trained on the brand you already own. We answer 24/7. Fast dispatch from 7am to 7pm, Sunday through Friday. From a stuck gate to a full installation, we help you figure out the right fix before any work begins, and the price is agreed in writing before we start.
Written by the team at Pasadena Gate Service.